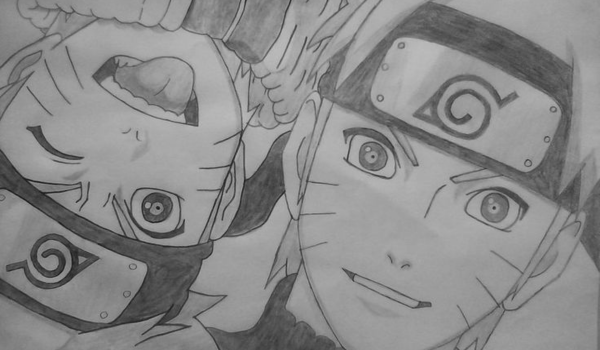
The famous ninja from the Naruto anime and manga series, Naruto Uzumaki, has won over fans’ hearts all around the world with his unwavering energy and bravery. Learning how to draw Naruto himself is a great way to show your appreciation for the character if you’re an aspiring artist and a fan of Naruto. So gather your art equipment and let’s begin this creative adventure! We’ll bring you through the process of sketching the well-known figure in this step-by-step lesson!
Materials you’ll Need:
- Drawing paper
- Pencils (HB, 2B, and 4B for different shades)
- Eraser
- Pencil sharpener
- Black ink pen or fine liner (optional)
Step 1: Sketch the Basic Shape
To begin, create an oval for Naruto’s head. Next, draw a vertical line in the middle of the oval to help you correctly put his face features. For his eye line, draw a horizontal line a little below the center. This will act as a guide for his eyes.
Step 2: Define the Face
Draw Naruto’s almond-shaped eyes using the horizontal guideline. Fill in his brows with two curved lines and his pupils with a little circle. Naruto’s eyes are generally resolute and passionate, so make sure your artwork captures that mood.
Step 3: Nose and Mouth
Naruto’s nose should be positioned as a modest, rounded form immediately below the eye line. Draw a simple, curving line behind his nose to represent his lips. Naruto’s look should be resolute but happy.
Step 4: Add Hair and Headband
Naruto’s spiky hair is one of his distinguishing characteristics. Begin sketching his hair by adding multiple sharp spikes radiating from his head. Don’t forget to draw a Konoha sign over his forehead on his headband. This headband is an important aspect of his ensemble.
Step 5: Outline the Face
Outline Naruto’s face with your selected pencil, giving close attention to the form and features of his eyes, nose, lips, and headband. Make any required modifications to establish proper proportions.
Step 6: Body and Clothing
Draw Naruto’s orange jumpsuit’s shoulders, neck, and collar. Sketch his arms and hands next. Naruto frequently wears a black glove on his left hand, which is an important element to mention. Draw his legs and the lower half of his jumpsuit next.
Step 7: Adding Details
It’s now time to add features like Naruto’s whisker-like markings on each cheek and the emblem of his forehead protector. Don’t forget to put his kunai pouch and ninja sandals on his right leg.
Step 8: Refine and Shade
Go over your pencil lines with a softer pencil (2B or 4B) to refine and darken them. To add depth and texture to your design, pay particular attention to the shadows on Naruto’s face, hair, and clothes. To create shade, employ cross-hatching or stippling techniques.
Step 9: Inking (Optional)
To give your design a clean and professional appearance, go over the last lines with a black ink pen or fine liner. This step will help your drawing stand out and appear more finished.
Step 10: Erase and Finalize
Wait for the ink to dry before erasing any lingering pencil lines after inking (if desired). This will result in a clear, clean sketch of Naruto.
Conclusion:
For fans and aspiring artists, drawing Naruto can be a rewarding and pleasurable experience. You may perfect the technique of capturing his essence and likeness on paper with practice and patience. Don’t be disheartened if your first try isn’t flawless; art is about learning and growing. Keep practicing, and you’ll soon be sketching Naruto with confidence and elegance. Take pleasure in your artistic adventure as you continue to show your affection for this renowned ninja!

